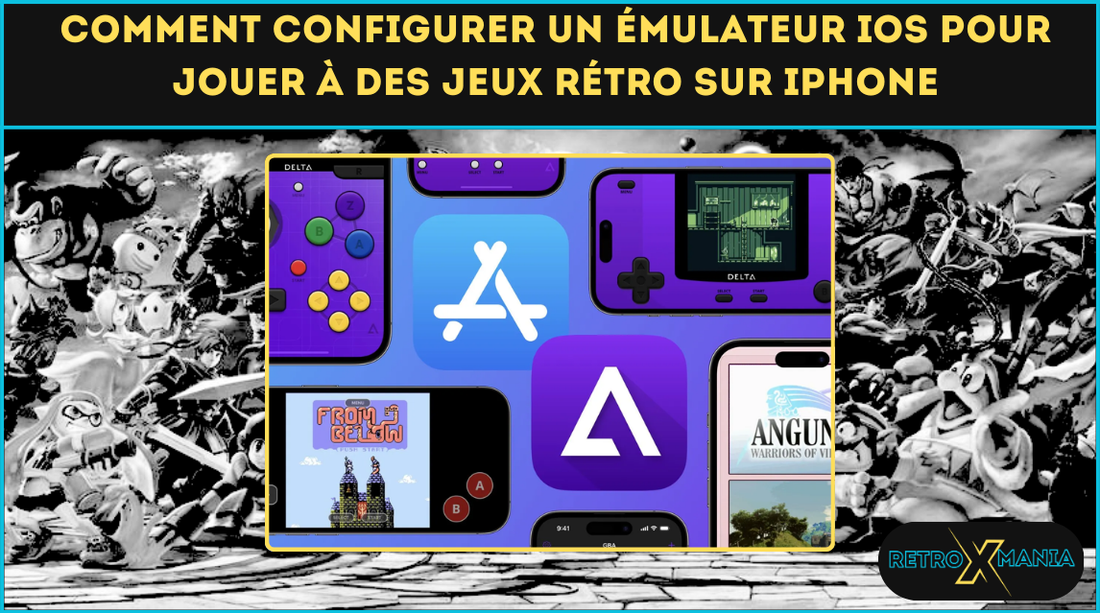
In this article, we'll explore the steps required to set up an iOS emulator to play retro games on your iPhone. Whether you're a Pokémon, Mario, or Zelda fan, following this guide will allow you to turn your phone into a true retro gaming console.
What is an iOS Emulator?
An iOS emulator is an application that mimics the hardware and operating system of a video game console on an iOS device, such as an iPhone or iPad. This allows users to play retro games that are not available on the App Store.
Advantages of iOS Emulators
-
Accessibility : Play retro games directly on your iPhone without the need for a physical console.
-
Portability : Take your favorite games with you anywhere.
- Economical : No need to buy expensive games or consoles.
While iOS emulators are a great option for playing retro games on your iPhone, they aren't always suitable for all gamers. For those looking for a more immersive experience or a turnkey solution, retro consoles can be a perfect alternative.
🚀 Retro gaming accessible in one click with Retroxmania
No need to be a computer expert or scour obscure forums to find your favorite retro games.
👉 The Retroxmania Emulator + ROMs Pack gives you everything you need to play right away, with complete confidence.
What you get:
🎮 Emulators compatible with PC, Android and iPhone
📂 15 Retro ROMs tested , already sorted and ready to use
🔐 100% safe files , virus-free, no nasty surprises
📘 A complete, simple and quick guide to follow
⚙️ Installation in minutes , even for beginners
Do you just want to play without any hassle? This pack is for you.
Fast, clean, and guaranteed stress-free retro gaming.
Step 1: Preparation
Before you begin, make sure you have a stable internet connection and enough storage space on your iPhone. Here are the preliminary steps:
Check iPhone compatibility
Not all emulators are compatible with all iPhone models. Here's what you need to do:
- Check the technical specifications required by the emulator you want to install (iOS version, RAM capacity).
- Make sure your device has a sufficient iOS version to support the emulator. Some emulators, for example, require iOS 13 or later.
Check Storage Space
- Emulators and ROM files can take up considerable space.
- Free up memory if necessary by deleting unnecessary applications or files. A margin of 1 GB or more is often recommended to ensure smooth operation.
Allow unknown sources
To install emulators that are not available on the App Store, you will need to change some settings on your iPhone:
-
Install a developer profile : This allows you to allow the installation of applications from external sources.
- Go to Settings > General > Profile and Device Management .
- Accept the developer profile linked to the emulator you are downloading.
-
Enable Trusted Certificate : This ensures that the emulator can run without restrictions.
- Security Attention : Download only from trusted sites to avoid any risk of malware.
Step 2: Choose an iOS Emulator
There are several powerful iOS emulators for enjoying retro games on iPhone. Here's a selection of the best emulators available, along with their key features.

Delta: The Versatile Emulator
Delta is one of the most popular emulators for iOS, offering wide compatibility and a smooth user experience:
-
Supported consoles : NES, SNES, Game Boy, Game Boy Advance, and Nintendo 64.
-
Key Features :
- Quick save to resume a game wherever you want.
- Sync with iCloud to keep your data across all your devices.
- Support for external controllers like Xbox or PlayStation.
- Ideal for : Gamers who want an all-in-one solution with an intuitive and stable interface.
Source: L’Option Open Source
Provenance is an open source emulator offering support for many retro consoles:
-
Supported Consoles : Sega Genesis, NES, SNES, PlayStation 1, Atari, and more.
-
Highlights :
- Clear and customizable interface.
- Local multiplayer functionality to play with friends.
- Regular updates thanks to its active community of developers.
- Best for : Those who want a free, regularly updated solution.
iNDS: For Nintendo DS Fans
Specifically designed for Nintendo DS games, iNDS is an essential choice for fans of this console:
-
Compatibility : Excellent support for most Nintendo DS games, providing stable performance.
-
Key Features :
- Automatic backups.
- Rewind option to go back in case of error.
- Support for cheats to customize your gaming sessions.
- Ideal for : Pokémon, Mario Kart, or Animal Crossing DS fans looking for a faithful and smooth experience.
Optimize your emulation experience with a high-performance Micro SD card
To effectively emulate Pokémon on your smartphone, a high-performance Micro SD card is essential. The Xiaomi PRO Plus , available from Retroxmania , offers high read and write speeds to quickly load your ROMs and manage your saves without latency. Treat yourself to the best storage solution and fully enjoy your games on your phone!
Step 3: Installing the Emulator
Method 1: Using AltStore
AltStore is an alternative to the App Store that allows you to install unsigned apps on iOS. Here's how to install an emulator with AltStore:
-
Download AltStore : Visit the official AltStore website and follow the instructions to download the application to your computer.
-
Install AltStore on your iPhone : Connect your iPhone to your computer and use AltServer (installed with AltStore) to install AltStore on your device.
-
Download the emulator : Once AltStore is installed, download the IPA file of the emulator of your choice.
- Install the emulator via AltStore : Open AltStore on your iPhone, go to "My Apps", tap the "+" symbol and select the downloaded IPA file.
Method 2: Use an Alternative Blind
Alternative app stores like TweakBox and AppValley offer iOS emulators. Here's how to do it:
-
Download the alternative store : Go to the official TweakBox or AppValley website and follow the instructions to install the app.
-
Search for the emulator : Open the alternative store and search for the desired emulator.
- Install the emulator : Tap the install button and follow the on-screen instructions.
Step 4: Download ROMs – Procedure and Tips for an Optimal Experience

ROMs (Read-Only Memory) are digital copies of video games you want to play through an emulator. Here's how to legally obtain them and integrate them into your iOS emulator.
Where to find ROMs
It is essential to respect copyright laws when purchasing ROMs. Here are some points to keep in mind:
-
Legal Ownership : Only download ROMs for games you physically own.
-
Trusted sites : Look for reputable platforms that offer legal ROMs, such as royalty-free archives or collections of games that have fallen into the public domain.
- Beware of dubious sources : Avoid unsecured websites that may contain corrupted files or malware.
How to Download and Add ROMs to your Emulator
Download the ROM :
- Open Safari on your iPhone and navigate to a legitimate site that offers ROMs.
- Download the desired ROM, which will be saved in the Files app.
Import the ROM into the Emulator:
-
Delta :
- Open the Files app.
- Locate the downloaded ROM.
- Long press the file, select Share , then choose Delta to automatically import the ROM.
-
Origin :
- Go to the Provenance interface and look for the Import ROM option.
- Use the Files feature or connect your iPhone to a computer to transfer the file via iTunes or a cloud solution.
-
iNDS :
- Drag the downloaded ROM into the emulator interface or use the local sync option.
Additional Precautions
-
Check supported formats: ROMs often come in formats like .zip, .gba, .nds, or .iso. Make sure the emulator you're using can play them.
-
Organizing ROMs: Create specific folders in your Files app to better organize your games by console.
Step 5: Configuring the Emulator
Once the emulator and ROMs are installed, you need to configure certain options for an optimal gaming experience.
Video and Audio Settings
-
Resolution : Adjust the resolution to balance visual quality and performance.
-
Filters : Enable or disable graphic filters according to your preferences.
- Audio : Make sure the audio is in sync with the gameplay.
Orders
-
Button Customization : Configure on-screen buttons for a comfortable gaming experience.
- Controller Support : If you prefer to play with a physical controller, some emulators support Bluetooth controllers.
Step 6: Optimization and Troubleshooting
Backups and Save States
Use the emulator's save features to save your progress. Save states allow you to resume the game exactly where you left off.
Common Bug Fixes
Here are some common problems and their solutions:
-
Performance issue : Reduce resolution or disable some graphics filters.
-
Frequent Crashes : Make sure you are using the latest version of the emulator and that your iPhone is up to date.
- Sound Issues : Check the audio settings of the emulator and your iPhone.
Conclusion
Playing retro games on your iPhone with an iOS emulator is a rewarding experience that combines nostalgia with modern technology. By following this guide, you can turn your iPhone into a true retro gaming machine, ready to provide hours of entertainment. Whether you're a fan of Pokémon, Zelda, or Mario, iOS emulators offer you a new way to enjoy your favorite games.
Don't forget to check back regularly for emulator updates to enjoy the latest improvements and features. Happy gaming!


